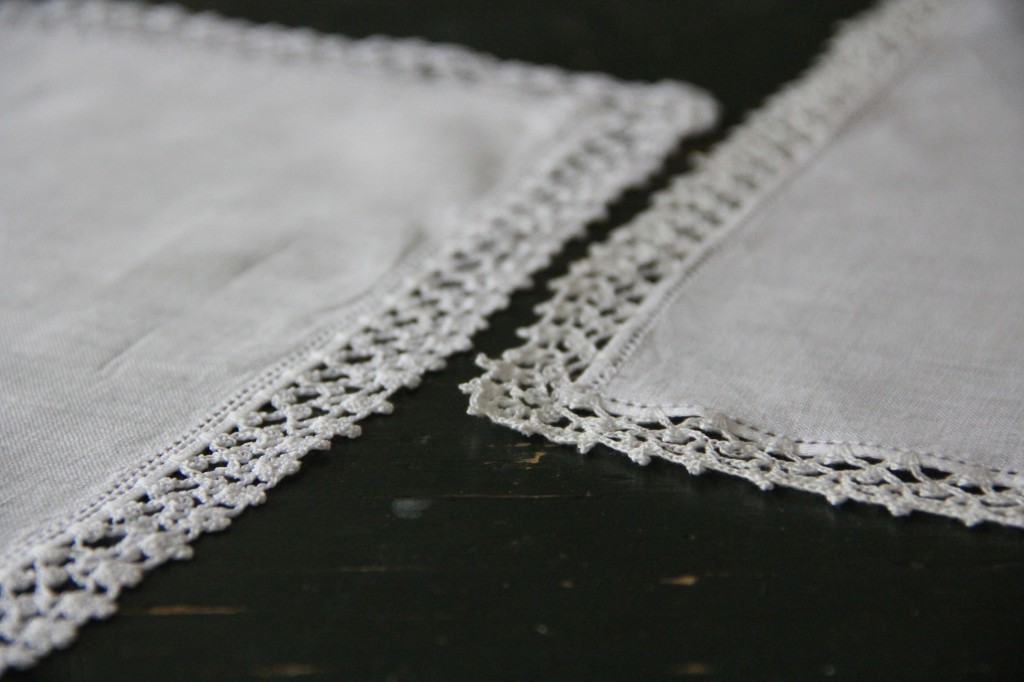
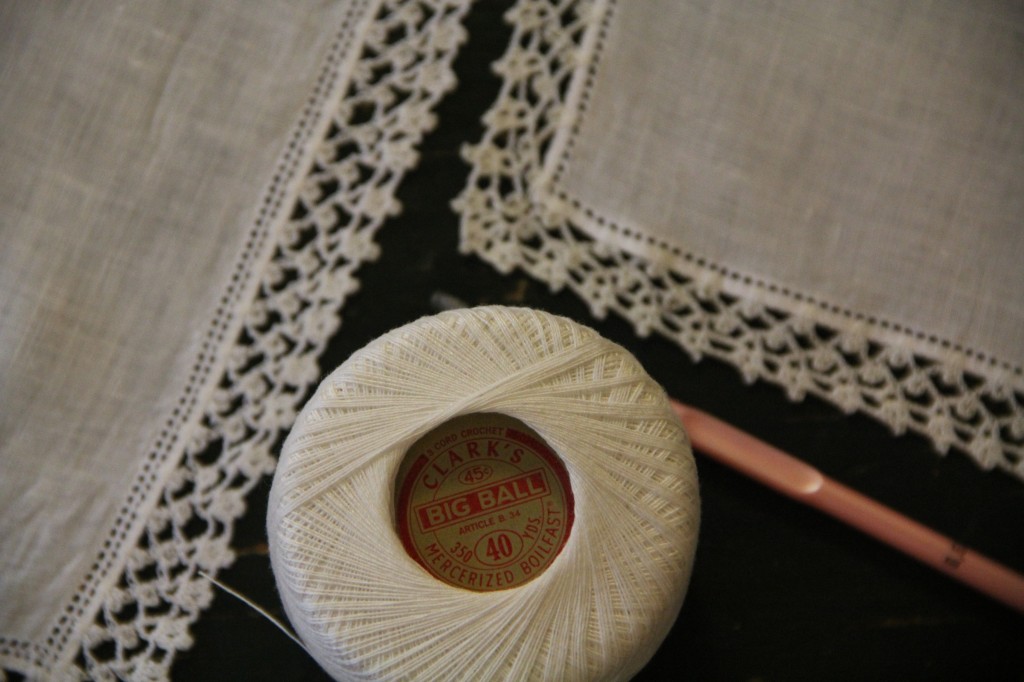
My Grandma Mangum gave my sister and I handkerchiefs with the same gorgeous crocheted lace edge when we went to the temple for the first time before our missions. I’ve loved and cherished my handkerchief and remember my grandmother with love and fondness whenever I use it.
I worked out the pattern so that I could crochet a handkerchief as a “goodbye” present for a crafty kindred spirit who is returning to her native Australia next week. Boohoo hoo! I am so sad to see her go.
I used vintage size 40 cotton crochet thread and a 0.60mm steel crochet hook. You might try a size 30 or size 20 crochet thread with this pattern if you’re uncomfortable with the tiny thread, but I would not suggest using a size 10 crochet thread – I think it would be too big and bulky. If you use a size 30 or size 20 thread, you will need to increase the distance between attachment spots on the first row of the lace edging.
US Crochet Terms
ch: chain
dc: double crochet
sc: single crochet
sp: space
st st: slip stitch
picot: ch 4. sl st into the 4th ch from hook.

Row 1: (You will be attaching the crochet thread to the handkerchief. If your handkerchief already has a hemstitched border, as mine did, you will sc into the hemstitched holes. If your handkerchief doesn’t have hemstitching – no worries! Just sc right into the edge of the handkerchief at the specified spot. It might help to measure and lightly mark with a pencil a small dot along the edge to help you know where to pierce the handkerchief fabric with your crochet hook.)
Attach thread at the corner, just barely to the left, of your handkerchief. Sc in same place. *Ch 7 and sc 5/8″ (9mm) away from starting point in the edge of the handkerchief. Ch 3 and sc in same spot.* Ch 7, sc 5/8″ (9mm) away in next measured spot. Ch 3 and sc in same spot. Continue from * to * until you reach the next corner, just barely to the right. Ch 7 and turn the handkerchief so that next side of the handkerchief is facing. Sc in the corner, just barely to the left. Ch 3 and sc in same spot. *Ch 7 and sc 5/8″ (9mm) away in next measured spot. Ch 3 and sc in same spot.* Continue the pattern all the way around the handkerchief, incorporating the corner pattern, to the staring point. After the last ch 3, Sl st into the starting sc.
Row 2: Sl st into the first 4 ch of the first ch 7. *Ch 7. Sc into 4th ch of next ch 7. Ch 3 and sc in same spot.* Continue from * to * across the flat edge of the handkerchief until you reach the 4th chain of the corner chain 7. (sc, ch 3, sc, ch 7, sc, ch 3, sc) all in the 4th ch of the corner ch 7. Continue the pattern all the way around the handkerchief, incorporating the corner pattern, to the staring point. After completing the last sc after the last ch 3, sl st to beginning ch 7.
Row 3: Sl st into the first 4 ch of the first ch 7. Ch 5 and dc in the same starting place. *Ch 3. (Dc, ch 2, dc) in the 4th ch of the next ch 7.* Continue from * to * across flat side of the handkerchief until you reach the ch 7 at the corner. (dc, ch 2, dc, ch 1, dc, ch 2, dc, ch 1, dc, ch 2, dc) all in the 4th ch of the corner ch 7. Continue from * to * across the next flat side of the handkerchief. Continue the pattern all the way around the handkerchief, incorporating the corner pattern, to the staring point. Sl st into ch 3 of the starting ch 5.
Row 4: Sl st into immediate ch-2 sp. Ch 3. Dc into same ch-2 sp. Make picot. 2 dc into same ch-2 sp. *Ch 2. (2 dc. Make picot. 2 dc) into next ch-2 sp.* Continue from * to * until you reach the last ch-2 sp before the corner. [Ch 1. (2 dc, make picot, 2 dc) in next ch-2 sp] 3 times. Ch 1. (2 dc. Make Picot. 2 dc) into next ch-2 sp. Continue from * to * across the next flat side of the handkerchief. Continue pattern all the way around the handkerchief, incorporating the corner pattern, to the starting point. Sl st into the top of the first ch 3. Knot and weave in ends.


Leave a Reply