Author: Allison

  • crocheted handkerchief edging

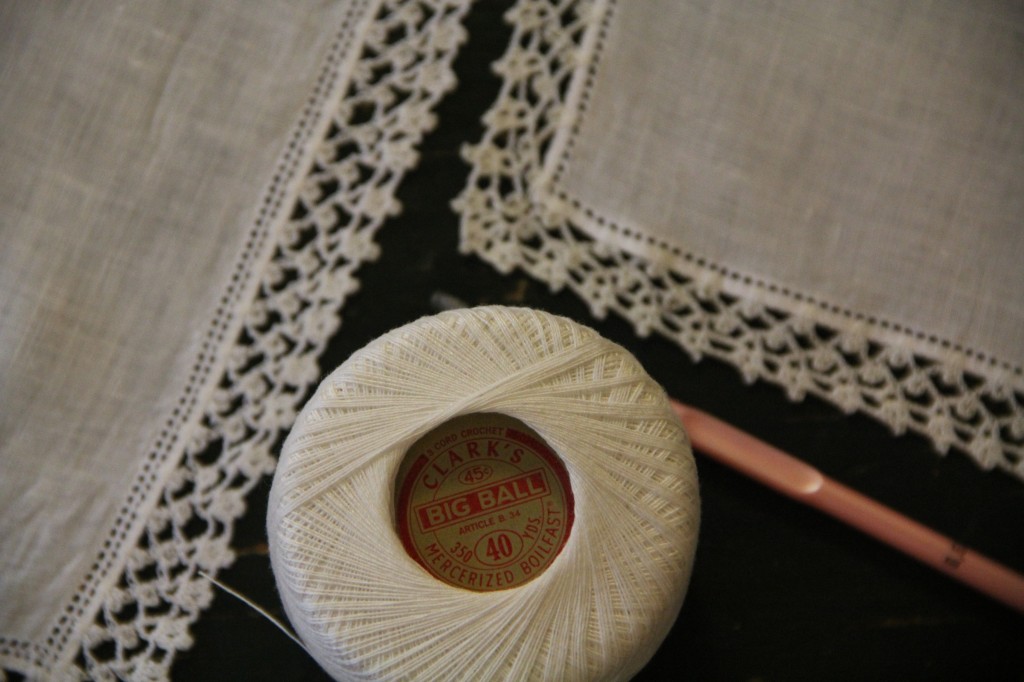
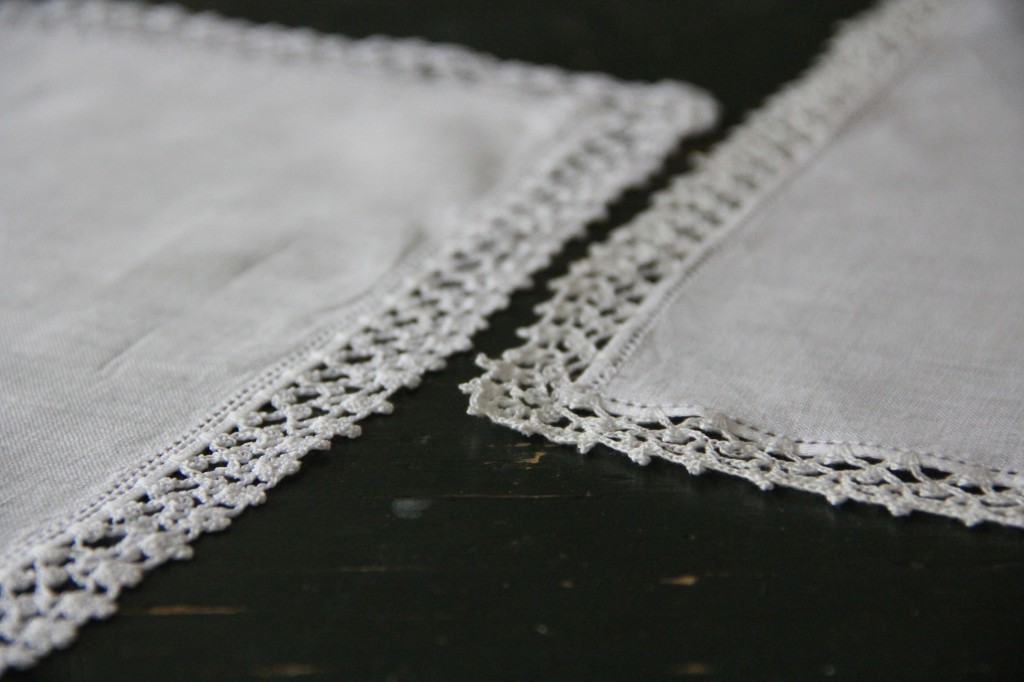
    My Grandma Mangum gave my sister and I handkerchiefs with the same gorgeous crocheted lace edge when we went to the temple for the first time before our missions. I’ve loved and cherished my handkerchief and remember my grandmother with love and fondness whenever I use it.

    I worked out the pattern so that I could crochet a handkerchief as a “goodbye” present for a crafty kindred spirit who is returning to her native Australia next week. Boohoo hoo! I am so sad to see her go.

    I used vintage size 40 cotton crochet thread and a 0.60mm steel crochet hook. You might try a size 30 or size 20 crochet thread with this pattern if you’re uncomfortable with the tiny thread, but I would not suggest using a size 10 crochet thread – I think it would be too big and bulky. If you use a size 30 or size 20 thread, you will need to increase the distance between attachment spots on the first row of the lace edging.

    US Crochet Terms

    ch: chain

    dc: double crochet

    sc: single crochet

    sp: space

    st st: slip stitch

    picot: ch 4. sl st into the 4th ch from hook.

    The different colors demonstrate the different rows of the pattern.

    Row 1: (You will be attaching the crochet thread to the handkerchief. If your handkerchief already has a hemstitched border, as mine did, you will sc into the hemstitched holes. If your handkerchief doesn’t have hemstitching – no worries! Just sc right into the edge of the handkerchief at the specified spot. It might help to measure and lightly mark with a pencil a small dot along the edge to help you know where to pierce the handkerchief fabric with your crochet hook.)

    Attach thread at the corner, just barely to the left, of your handkerchief. Sc in same place. *Ch 7 and sc 5/8″ (9mm) away from starting point in the edge of the handkerchief. Ch 3 and sc in same spot.* Ch 7, sc 5/8″ (9mm) away in next measured spot. Ch 3 and sc in same spot. Continue from * to * until you reach the next corner, just barely to the right. Ch 7 and turn the handkerchief so that next side of the handkerchief is facing. Sc in the corner, just barely to the left. Ch 3 and sc in same spot. *Ch 7 and sc 5/8″ (9mm) away in next measured spot. Ch 3 and sc in same spot.* Continue the pattern all the way around the handkerchief, incorporating the corner pattern, to the staring point. After the last ch 3, Sl st into the starting sc.

    Row 2: Sl st into the first 4 ch of the first ch 7. *Ch 7. Sc into 4th ch of next ch 7. Ch 3 and sc in same spot.* Continue from * to * across the flat edge of the handkerchief until you reach the 4th chain of the corner chain 7. (sc, ch 3, sc, ch 7, sc, ch 3, sc) all in the 4th ch of the corner ch 7. Continue the pattern all the way around the handkerchief, incorporating the corner pattern, to the staring point. After completing the last sc after the last ch 3, sl st to beginning ch 7.

    Row 3: Sl st into the first 4 ch of the first ch 7. Ch 5 and dc in the same starting place. *Ch 3. (Dc, ch 2, dc) in the 4th ch of the next ch 7.* Continue from * to * across flat side of the handkerchief until you reach the ch 7 at the corner. (dc, ch 2, dc, ch 1, dc, ch 2, dc, ch 1, dc, ch 2, dc) all in the 4th ch of the corner ch 7. Continue from * to * across the next flat side of the handkerchief. Continue the pattern all the way around the handkerchief, incorporating the corner pattern, to the staring point. Sl st into ch 3 of the starting ch 5.

    Row 4: Sl st into immediate ch-2 sp. Ch 3. Dc into same ch-2 sp. Make picot. 2 dc into same ch-2 sp. *Ch 2. (2 dc. Make picot. 2 dc) into next ch-2 sp.* Continue from * to * until you reach the last ch-2 sp before the corner. [Ch 1. (2 dc, make picot, 2 dc) in next ch-2 sp] 3 times. Ch 1. (2 dc. Make Picot. 2 dc) into next ch-2 sp. Continue from * to * across the next flat side of the handkerchief. Continue pattern all the way around the handkerchief, incorporating the corner pattern, to the starting point. Sl st into the top of the first ch 3. Knot and weave in ends.

  • crocheted totoro & knit shaun the sheep

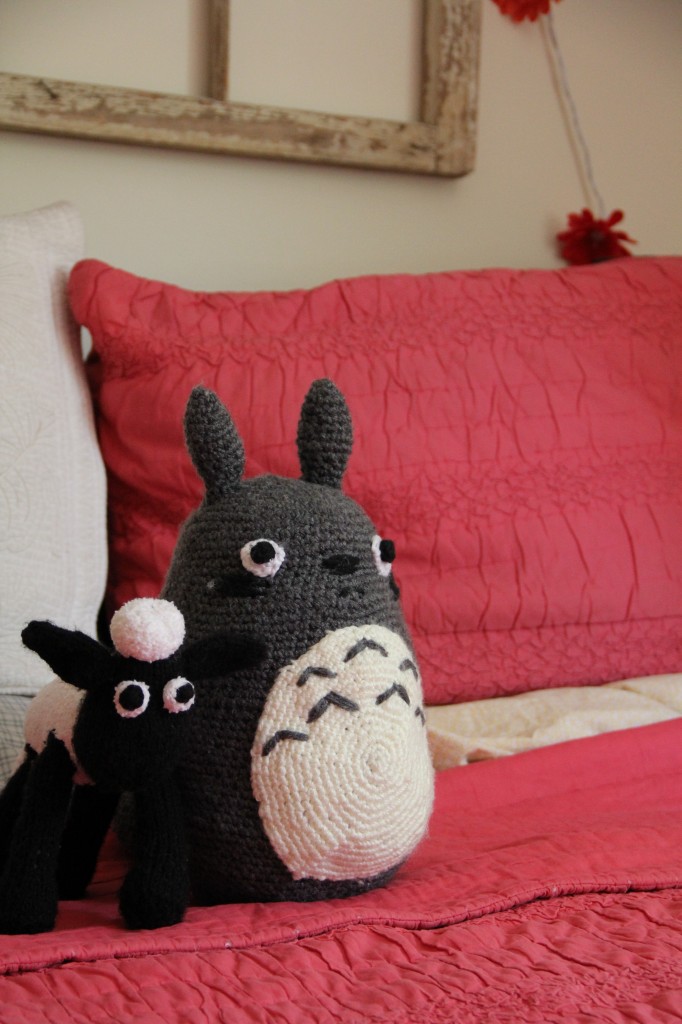
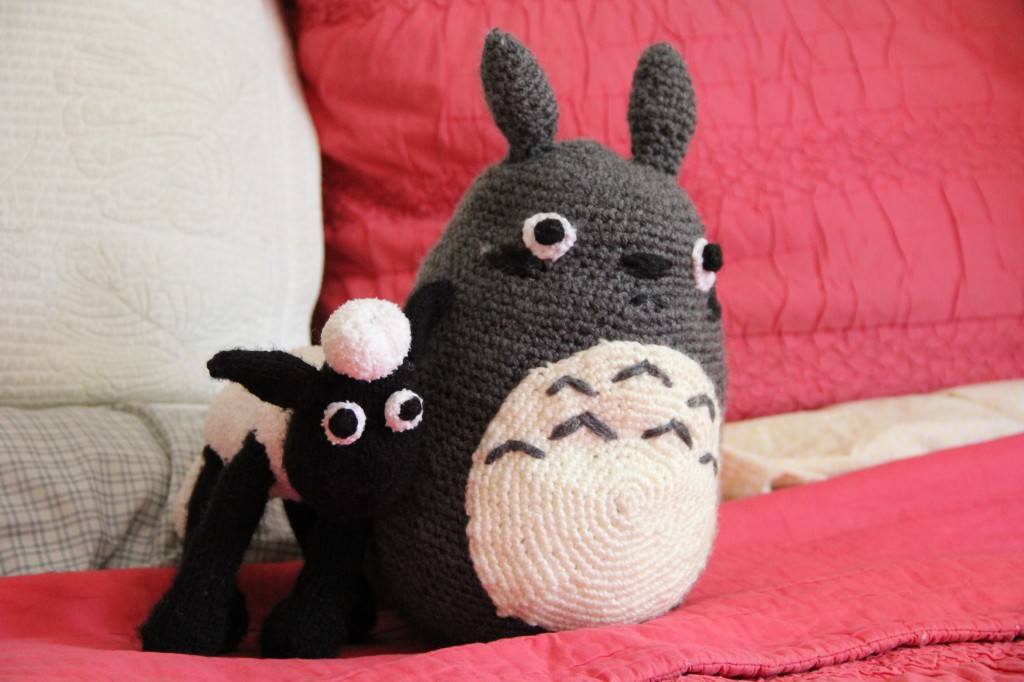
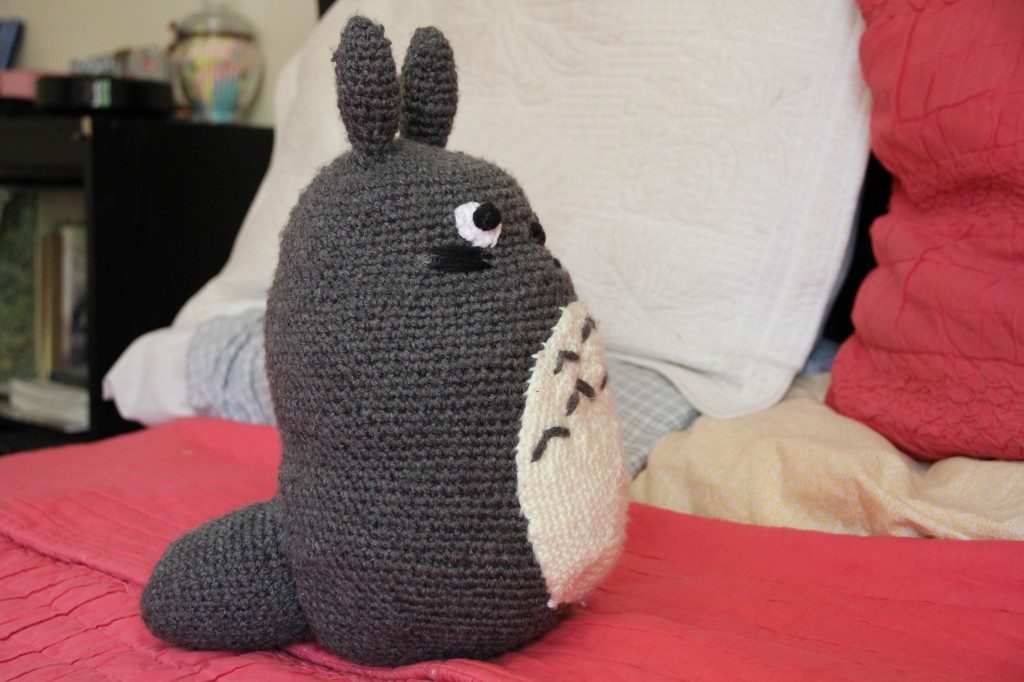
    {G} just finished crocheting this armless Totoro. We were short on stuffing so he’s armless and a little lumpy. My Neighbor Totoro has long been a family favorite and she needed a break from the mandated summer reading list the Mr. and I have imposed on her. Now her first knitting project, Shaun the Sheep has a friend!

    Totoro free crochet pattern on Ravelry. The Patons Shaun the Sheep knitting kit is discontinued (check ebay!), but here is a free crochet pattern.

  • crochet flower coasters

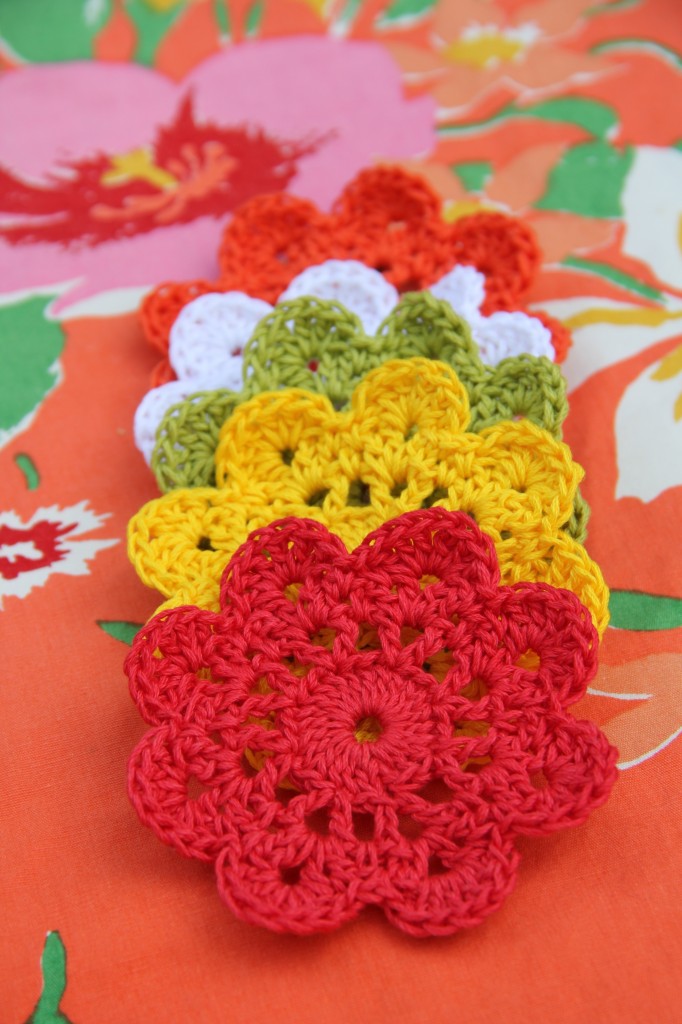
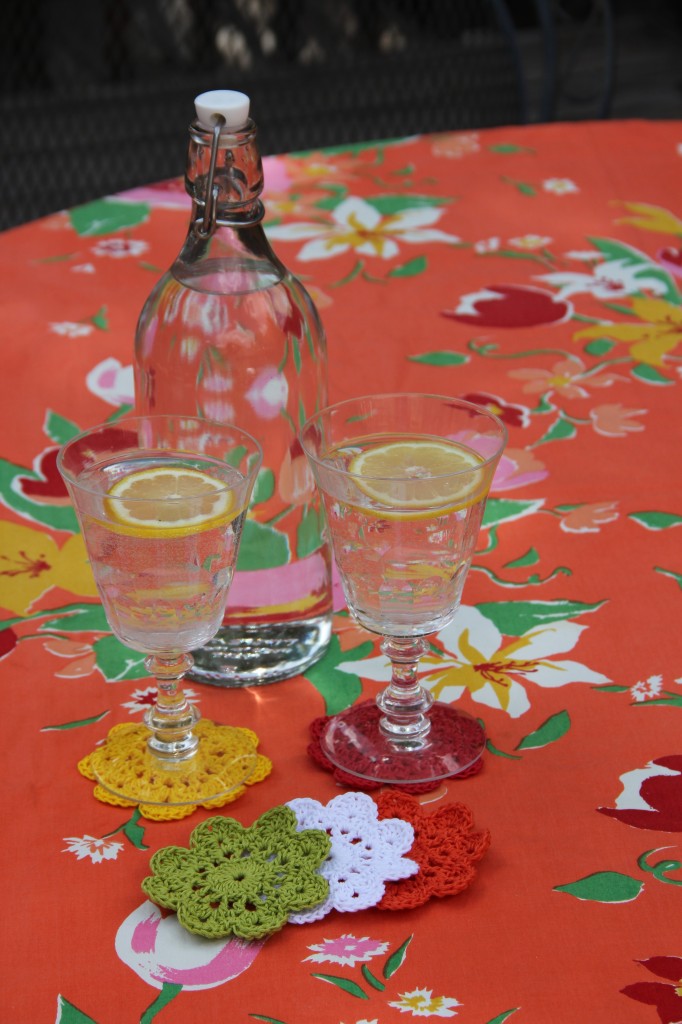
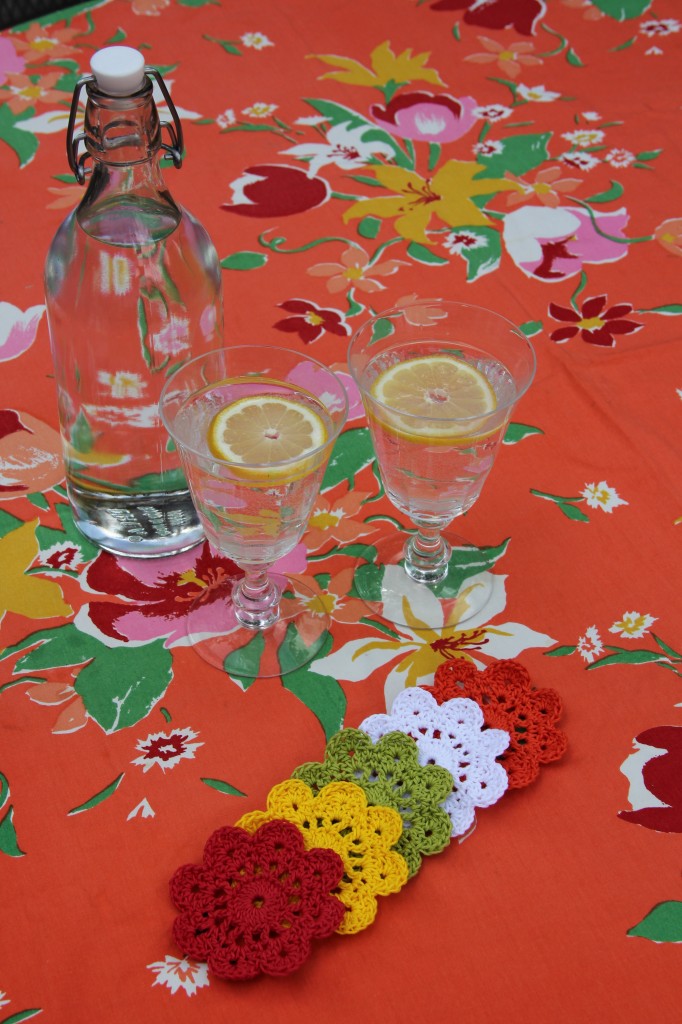
    These cute coasters are a super quick crochet project.  They’re also a great housewarming or bridal shower gift. Free pattern here. Yarn info on my Ravelry project page.

  • treats for a recovering sugar addict – date sweetened ice cream

    I stopped eating processed sugar – everything! honey, agave, evaporated cane sugar, coconut sugar, anything artificial – a year ago. Because I’m an addict. Truly.

    For the most part all my sugar cravings have gone. Fresh fruit usually satisfies. But occasionally, I feel sorry for myself that I’m not eating what everyone else is eating and I want a “treat.”
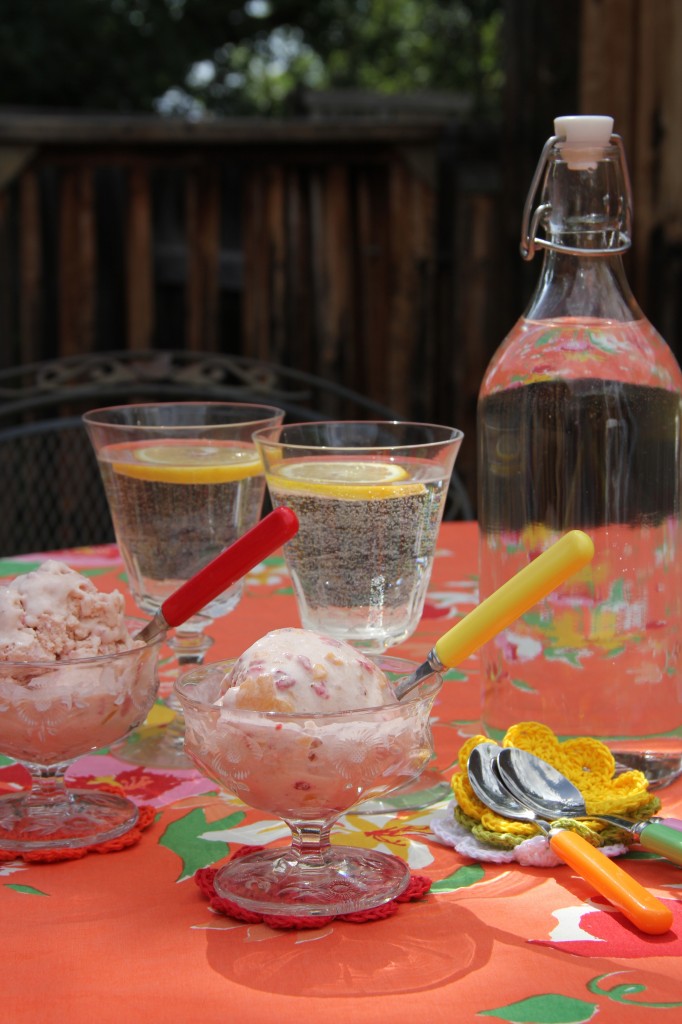
    So, I’ve been experimenting with date and raisin pastes to sweeten things. I recently made a date-sweetened homemade strawberry mango ice cream that was really yummy!
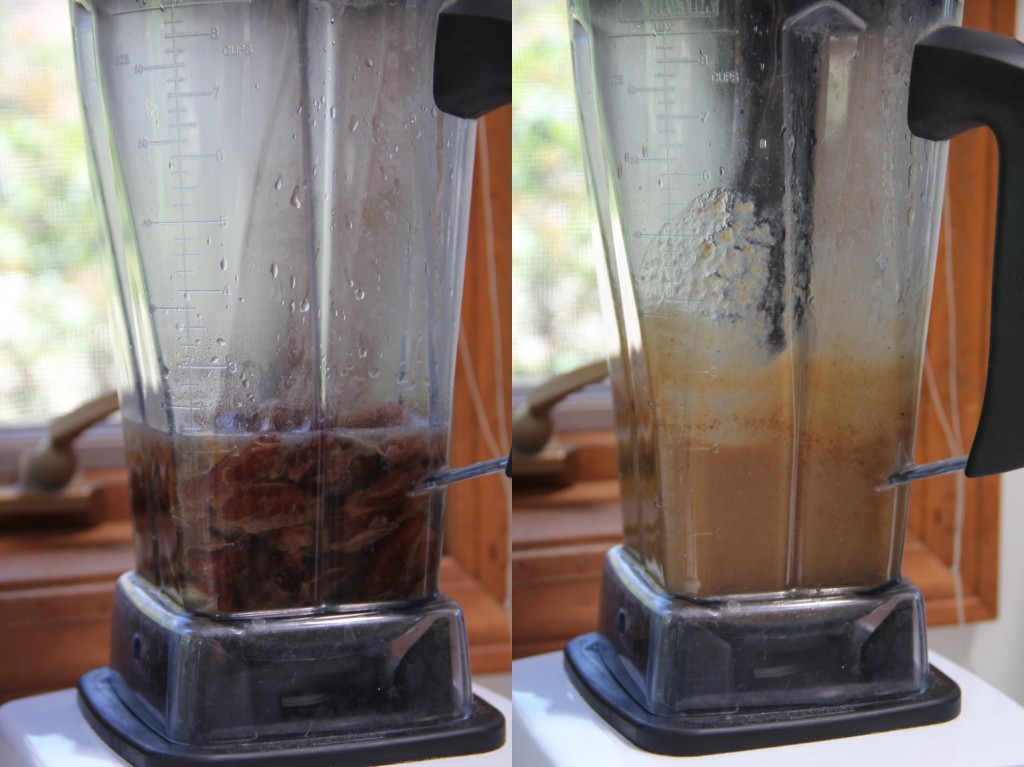
    Soak pitted dates in enough warm water and juice from half a lemon to just cover the dates for 20 minutes, then purée in the blender. I substituted the date purée for sugar in my favorite ice cream recipe.

    Note: this is a not a low calorie, low fat treat, nor am I claiming that it is particularly healthy. It just doesn’t have sugar. Indulge with discretion. Recipe contains dairy and eggs.

    Strawberry Mango Ice Cream

    1 pint fresh strawberries, hulled and sliced

    2 ripe fresh mangoes, peeled and diced

    3/4 cup date purée

    juice of 1/2 lemon

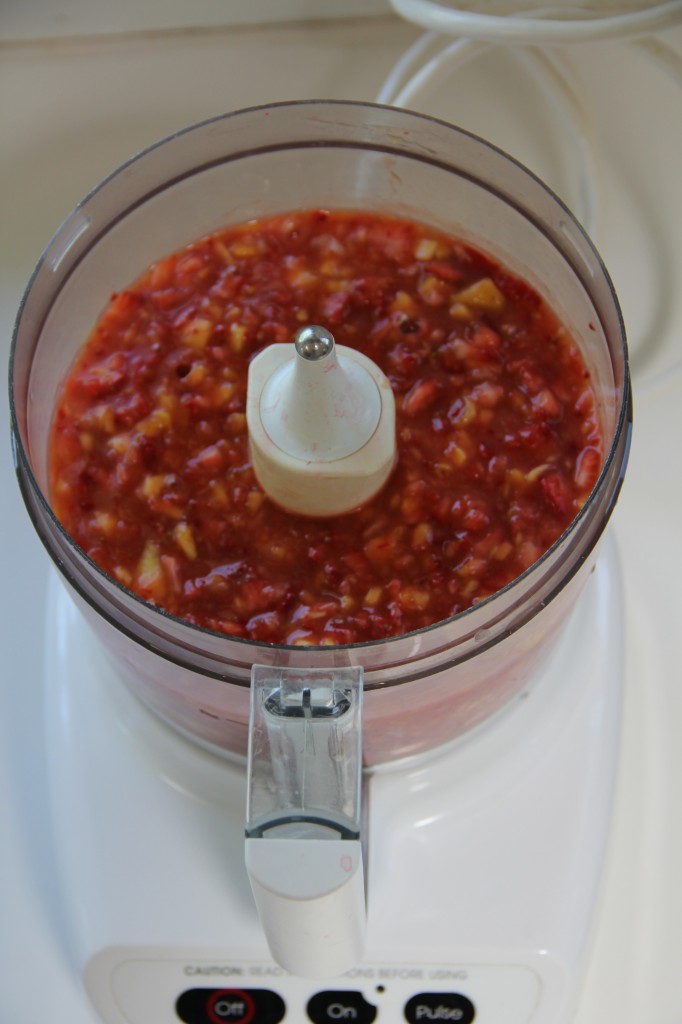
    Add date purée and juice of lemon to cut fruit. Cover and refrigerate for 1 hour. Process fruit in a food processor to mash slightly (I like chunky ice cream, but not too chunky).

    2 large fresh eggs*

    3/4 cup date purée

    2 cups heavy whipping cream

    1 cup whole milk

    *raw eggs should not be served to the very old, the very young, or those whose health could be compromised

    Whisk the eggs in a mixing bowl until light and fluffy, 1 to 2 minutes. Whisk in the date purée, a little at a time, until completely blended. Pour in the cream and milk and whisk to blend. Add the strawberry and mango purée. Transfer mixture to an ice cream maker and freeze following the manufacturer’s instructions.


  • free vintage crochet climbing trellis hexagon pot holder pattern

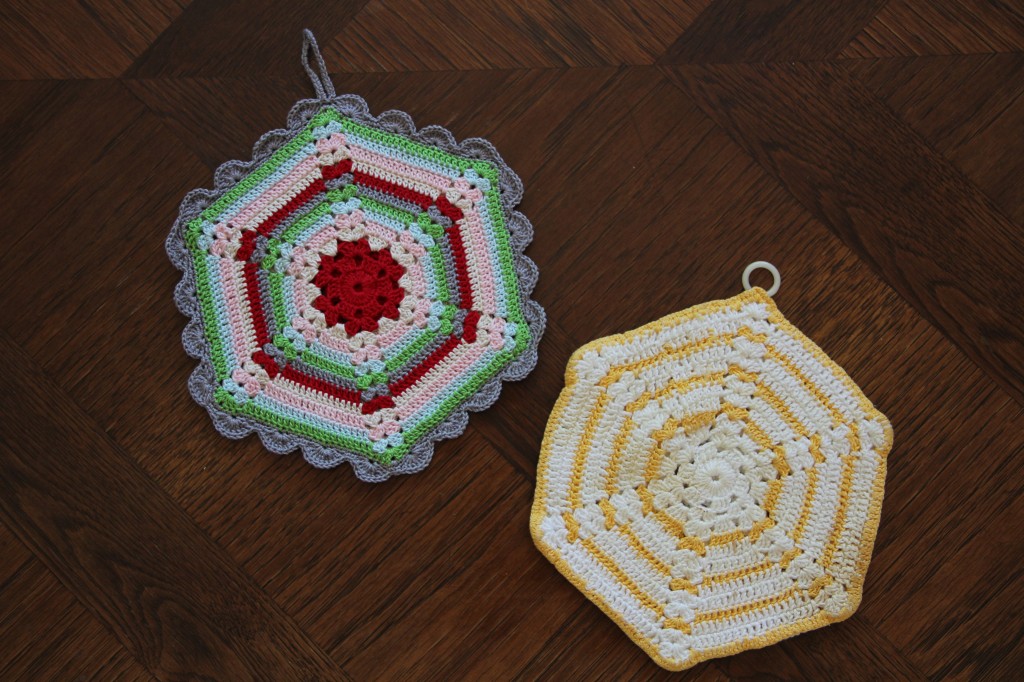
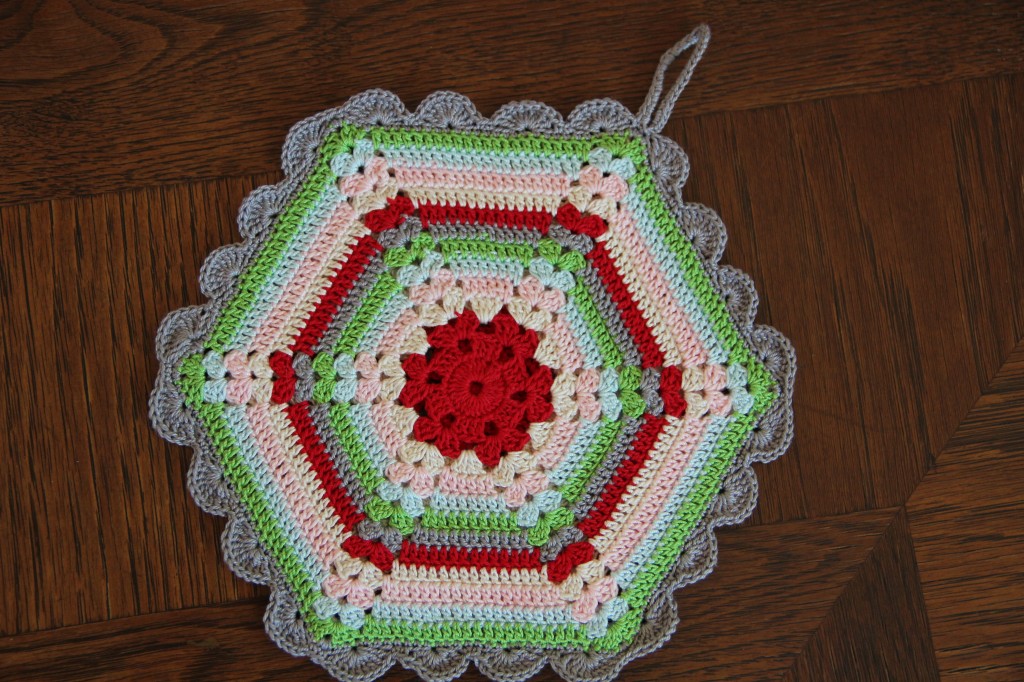
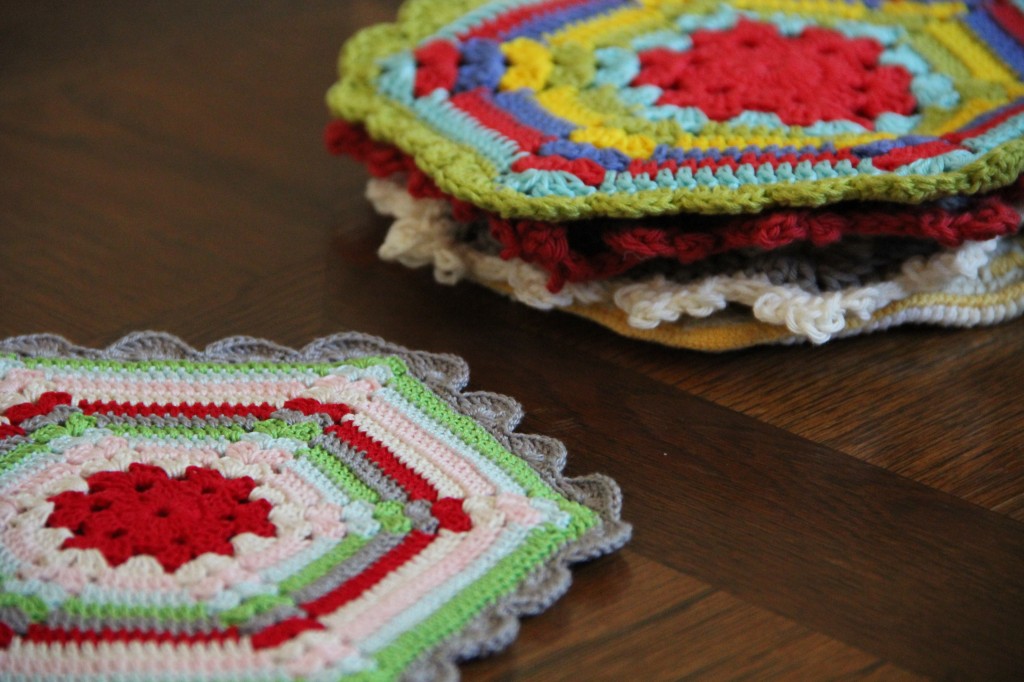
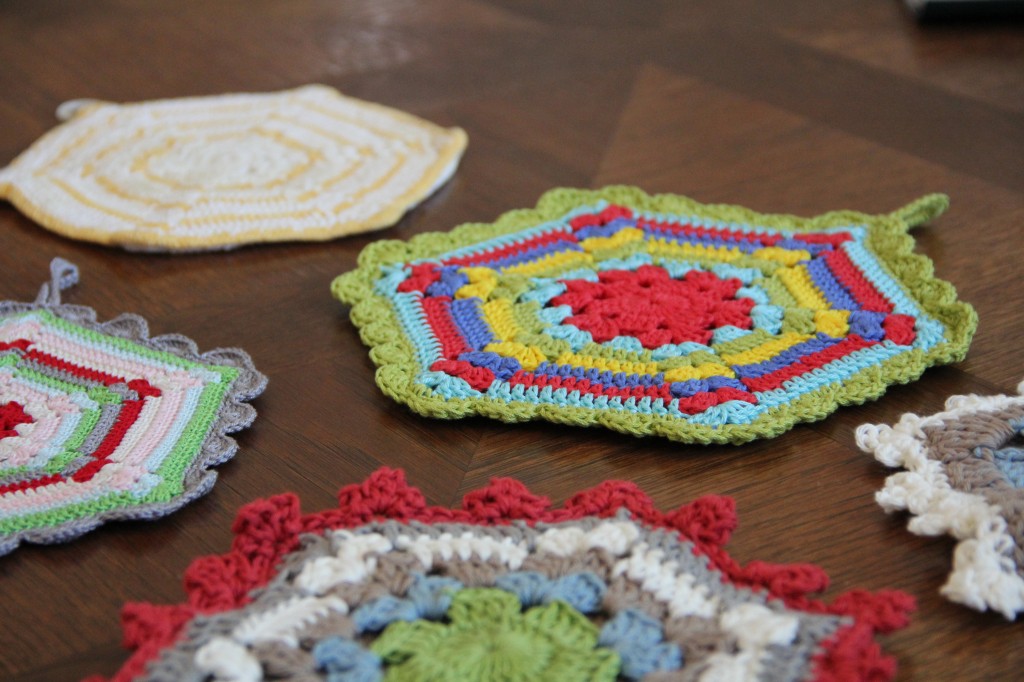
    I have a potholder that my Grandma Mangum crocheted years ago and I’ve wanted to figure out the pattern for a long time. I finally recreated her pattern in no. 10 crochet cotton and a size 6 (1.80mm) steel crochet hook. It’s nice and thick and I love how it turned out! But it took longer than I thought a potholder should take to crochet.

    So I used a thicker cotton crochet yarn – a size 3 or size 5 crochet cotton thread or a light dk cotton yarn keep the holes in the pattern pretty small and tight (important for a potholder!) – and a size C/2 (2.75mm) crochet hook to make the pattern a quick housewarming or bridal shower gift.

    Vintage Climbing Trellis Hexagon Potholder

    US Crochet Terms:

    ch: chain

    dc: double crochet

    sc: single crochet

    sl st: slip stitch

    sp: space

    Make a sliding loop or magic ring (go here or here for a good tutorial, or ch 4, sl st in first chain to close the ring). Ch 3 (counts as first dc here and throughout). Make 23 dc into ring. Tighten the ring and slip stitch into the top of the first ch 3 to close. (24 dc)

    Row 1: Ch 3. 1 dc in the next 3 dc. Ch 2. (1 dc in the next 4 dc, ch 2) 5 times. Sl st in the top of first ch 3. Sl st in the next 3 dc and (attach new color yarn here if desired) then sl st into next ch-2 sp. (24 dc and 6 ch-2 sp)

    Row 2: (Ch 3, 2 dc, ch 2, 3 dc) all in the same beginning ch-2 sp. Ch 1. (3 dc, ch 2, 3 dc in next ch-2 sp. Ch 1.) 5 times. Sl st in top of first ch 3. Sl st in next 2 dc and (attach new color yarn here if desired) then sl st into next ch-2 sp.

    Row 3: (Ch 3, 2 dc, ch 2, 3 dc) all in the same beginning ch-2 sp. 4 dc in next ch-1 sp. (3 dc, ch 2, 3 dc into next ch-2 sp. 4 dc in next ch-1 sp.) 5 times. Sl st in top of first ch 3. Sl st in next 2 dc and (attach new color yarn here if desired) then sl st into next ch-2 sp.

    Row 4: (Ch 3, 2 dc, ch 2, 3 dc) all in the same beginning ch-2 sp. Skip next 3 dc. 1 dc in sp between skipped 3 dc and next 4 dc. 1 dc in next 4 dc. 1 dc in sp between previous 4 dc and next 3 dc. (3 dc, ch 2, 3 dc in next ch-2 sp. Skip next 3 dc. 1 dc in sp between skipped 3 dc and next 4 dc. 1 dc in next 4 dc. 1 dc in sp between previous 4 dc and next 3 dc.) 5 times. Sl st in top of first ch 3. Sl st in next 2 dc and (attach new color yarn here if desired) then sl st into next ch-2 sp.

    Row 5: (Ch 3, 2 dc, ch 2, 3 dc) all in the same beginning ch-2 sp. Skip next 3 dc. 1 dc in sp between skipped 3 dc and the next 6 dc. 1 dc in next 6 dc. 1 dc in sp between previous 6 dc and next 3 dc. (3 dc, ch 2, 3 dc in next ch-2 sp. Skip next 3 dc. 1 dc in sp between skipped 3 dc and next 6 dc. 1 dc in next 6 dc. 1 dc in sp between previous 6 dc and next 3 dc.) 5 times. Sl st in top of first ch 3. Sl st in next 2 dc and (attach new color yarn here if desired) then sl st into next ch-2 sp.

    Row 6: (Ch 3, 2 dc, ch 2, 3 dc) all in the same beginning ch-2 sp. Skip next 3 dc. 1 dc in sp between skipped 3 dc and the next 8 dc. 1 dc in next 8 dc. 1 dc in sp between previous 8 dc and next 3 dc. (3 dc, ch 2, 3 dc in next ch-2 sp. Skip next 3 dc. 1 dc in sp between skipped 3 dc and next 8 dc. 1 dc in next 8 dc. 1 dc in sp between previous 8 dc and next 3 dc.) 5 times. Sl st in top of first ch 3. Sl st in next 2 dc and (attach new color yarn here if desired) then sl st into next ch-2 sp.

    Continue to increase each row in like manner until hexagon reaches desired size (6″ across is a good potholder size). Make a second hexagon.

    With wrong sides together and right sides facing out, sc the 2 hexagons together, finishing the edge with a shell or picot trim if desired and adding a loop at one corner.

    Click here to visit my Ravelry project page.

  • bloglovin

    <a href=”http://www.bloglovin.com/blog/4747251/?claim=gafyu4mrwnc”>Follow my blog with Bloglovin</a>

    Did you know that Google Reader will shut off in a few weeks? I’m not in love with Bloglovin, but what are the other options to get your best blogs all in one place? In the meantime, you can follow my blog directly or you can follow my blog on Bloglovin.com.

    Cheers!

  • personal progress journal covers

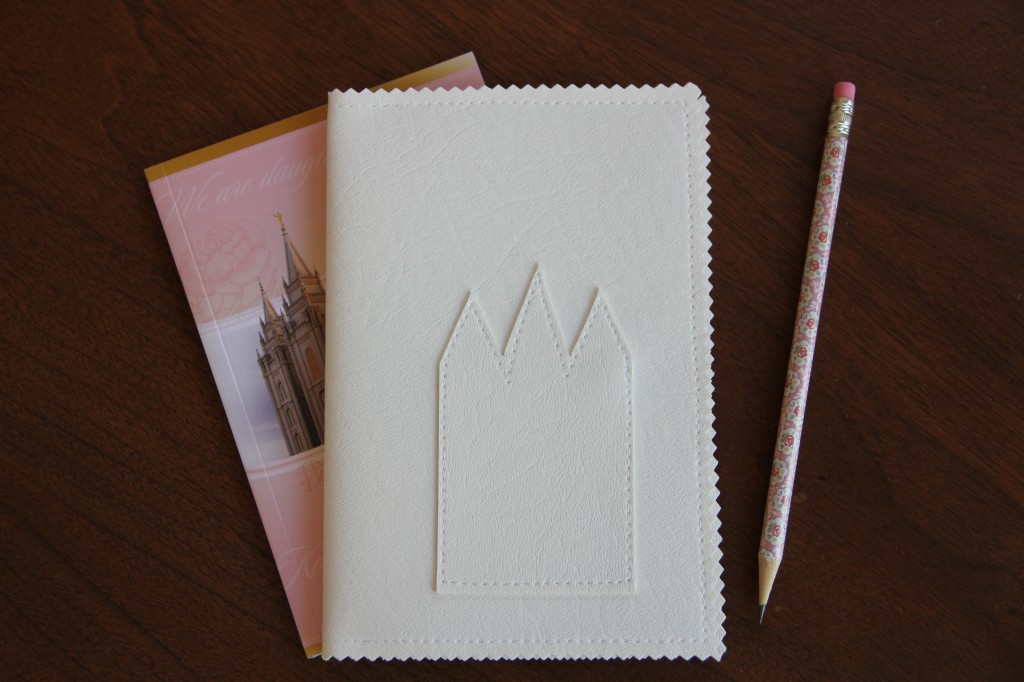
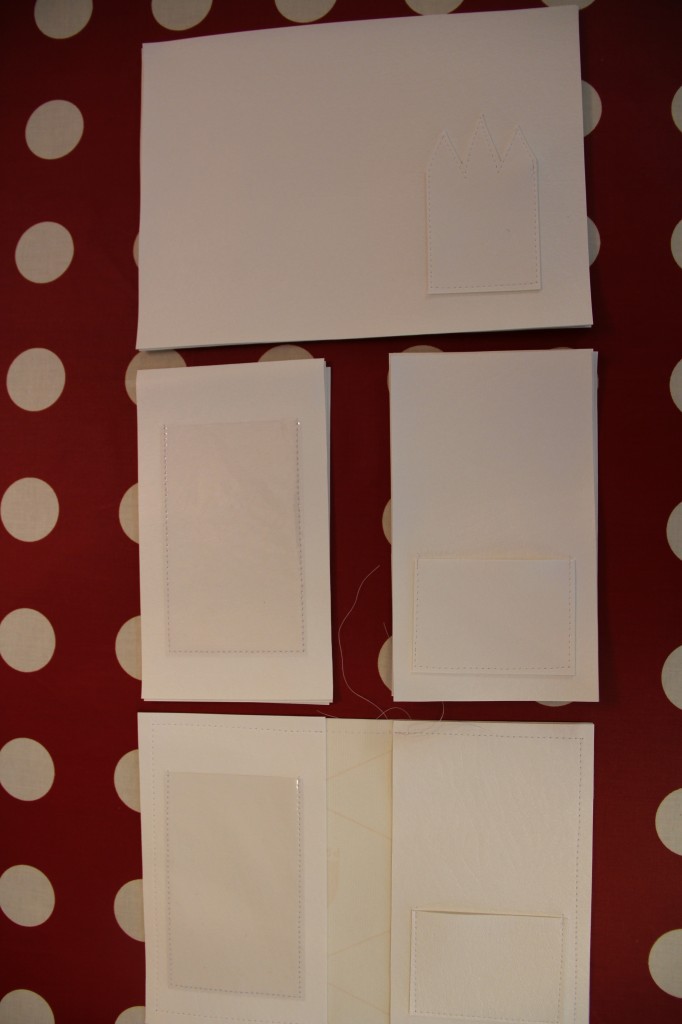
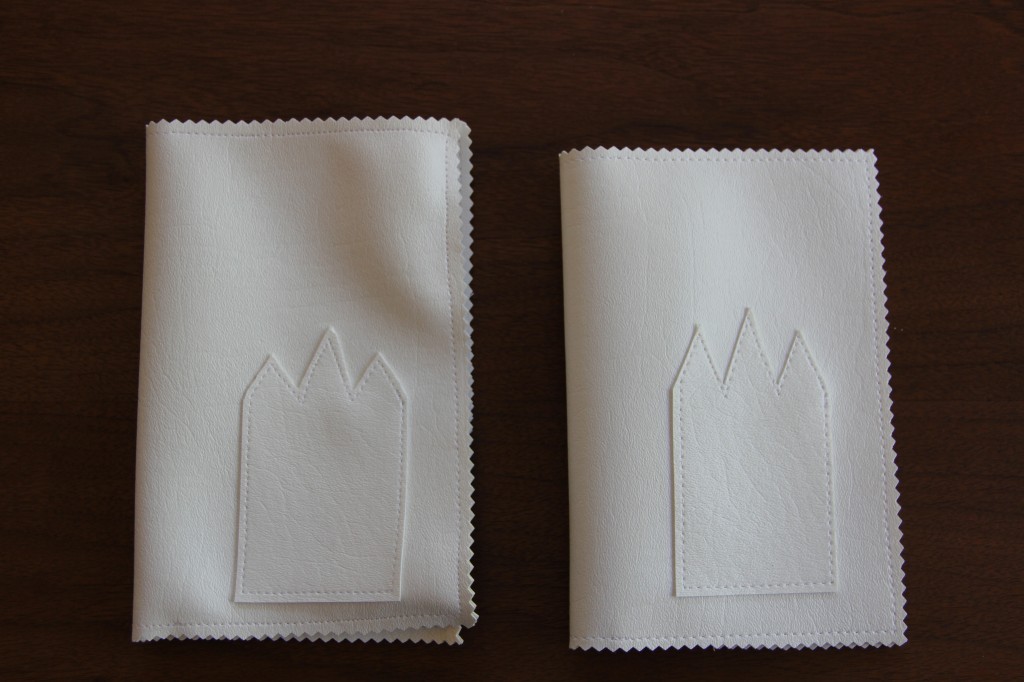
    I made a few of these white vinyl covers with a temple decal for the young women in our ward in preparation for girls camp next month. They fit over a Personal Progress journal.

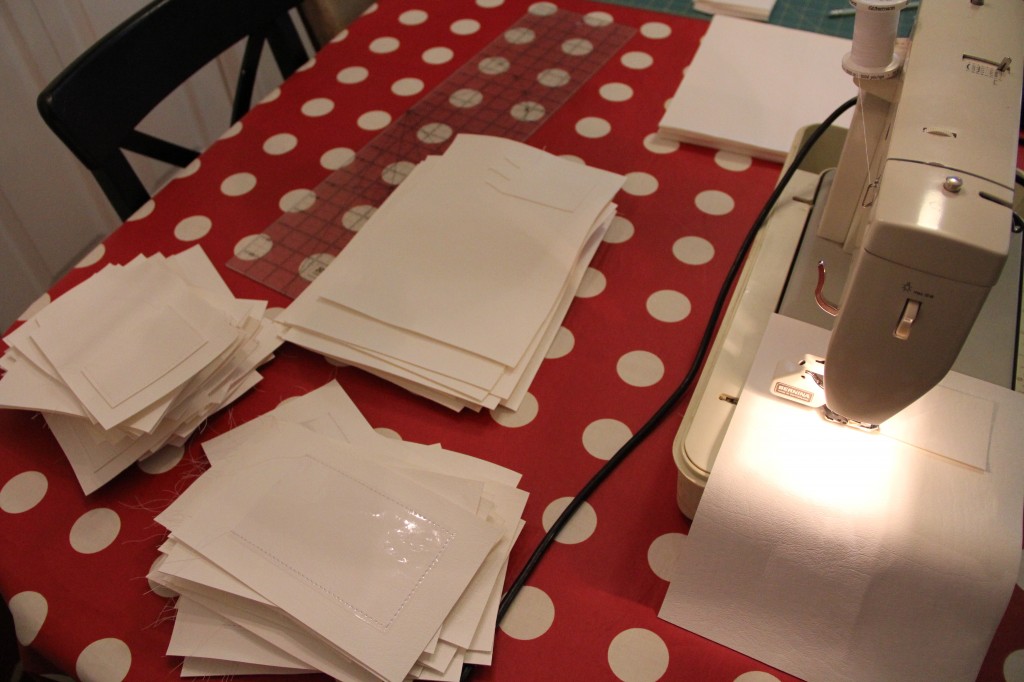
    There is a clear vinyl pocket inside the front cover so that the girls can insert a picture of themselves in front of the temple and a small pocket inside the back cover to keep their recommend. They were super easy to put together and with my fabric store coupons they were very inexpensive.

    Click here for the template. Click here to purchase the journals.

    Note: Investing in a walking foot attachment for your sewing machine is a must if you want to sew vinyl or machine stitch quilts. They usually run about $100, depending on what kind of sewing machine you use. Best attachment ever!

    Difference without and with a walking foot attachment…
  • shawl crush

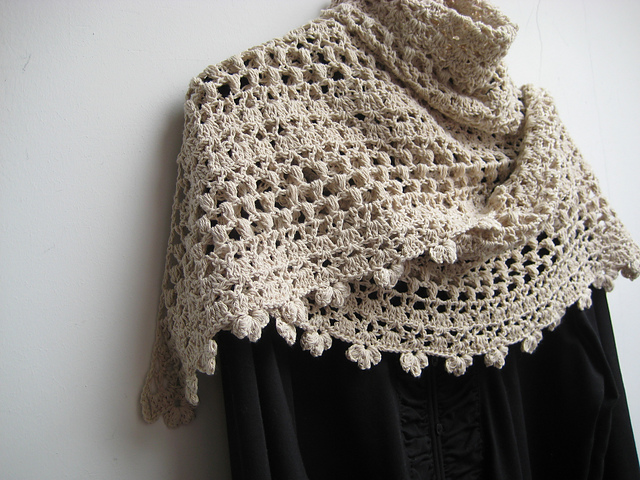
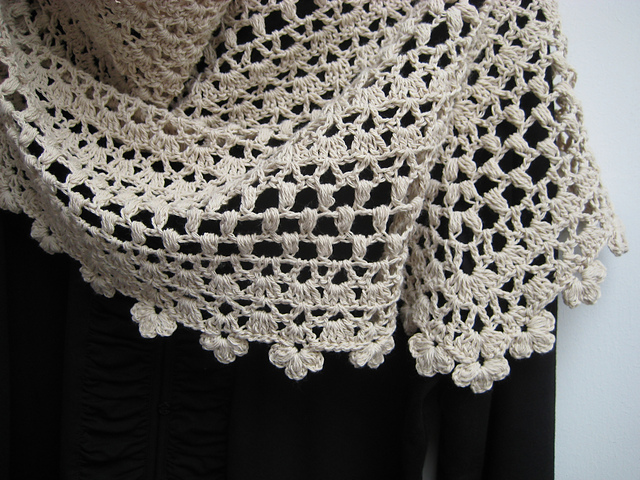
    I’m seriously in love with Fanalaine’s shawl. I’m considering dropping every other single project I have in the works and devoting myself to it. It is utterly delightful. Maybe I’ll make it with this yarn, or this one? Or maybe I’ll pull out some vintage crochet cotton and have at it. Hmmm, I’m so distracted!

    *fanalaine’s photos used with permission
  • knit baby cable sacque

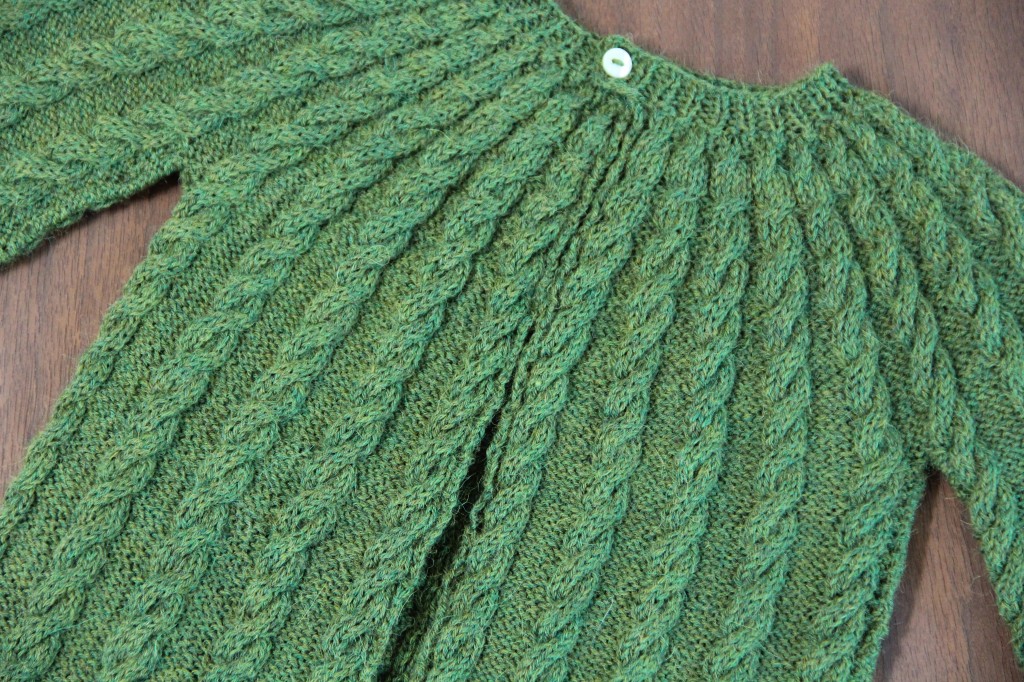
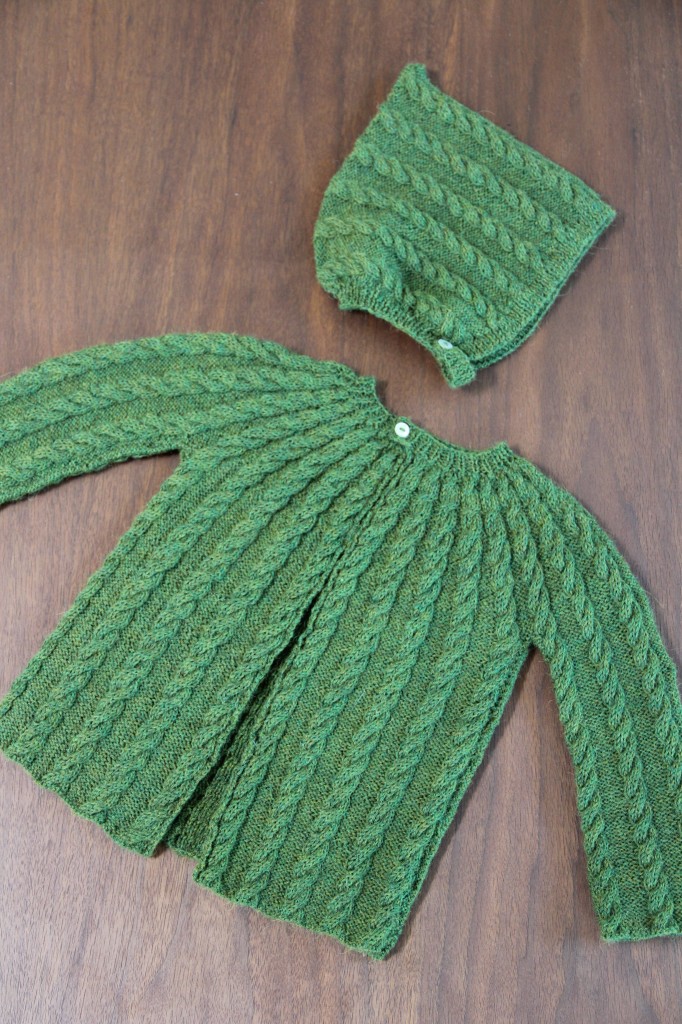
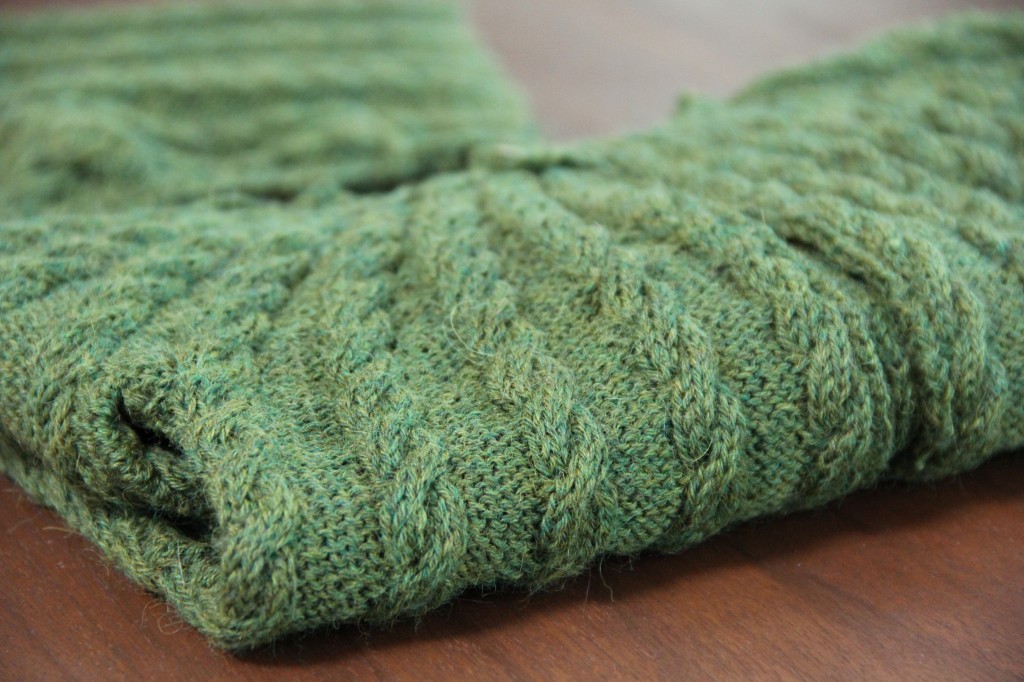
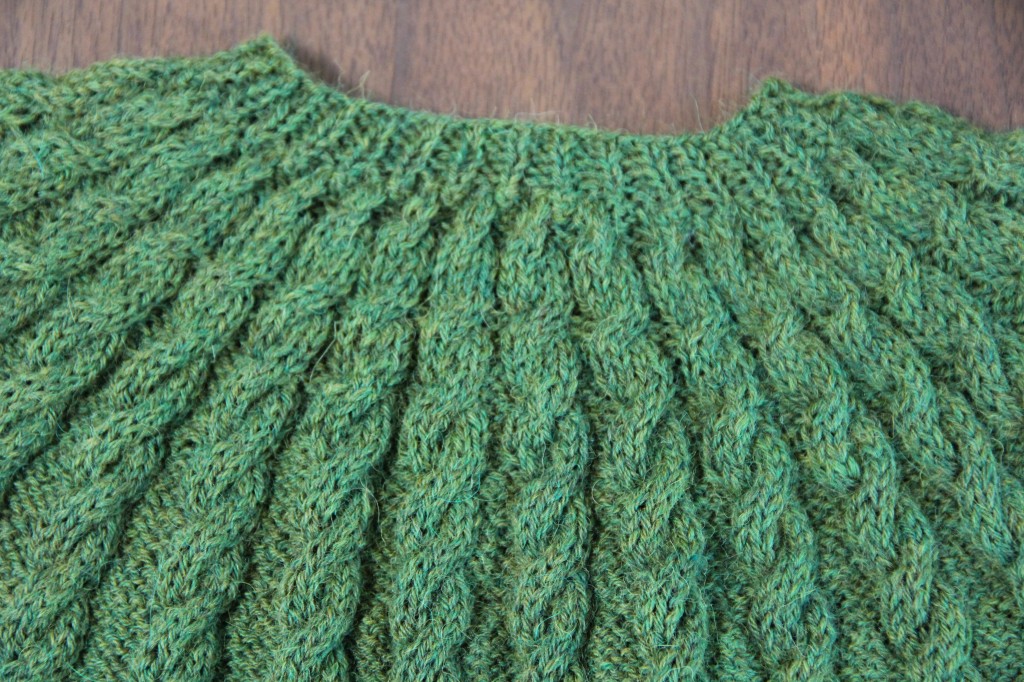
    Ahhh, I finally finished the baby cable sweater that matches my Knit Pixie Cable Hat. I’ve been working on it for the last eight months. I’m glad my sister, who commissioned it, has be a very patient patron. She’s watched as project after project was given precedence over this little thing.

    I only had to rip out the top part 4 or 5 times before I got it right. That’s not TOO bad, right? I re-sized and adjusted a vintage pattern and now will re-write it to have it knit from the top down instead of from the bottom up. But not just yet.

    It might take me a few months before I’m ready to wrap my brain around this pattern again. Yarn specifications can be found on my Ravelry project page.

  • spring planting

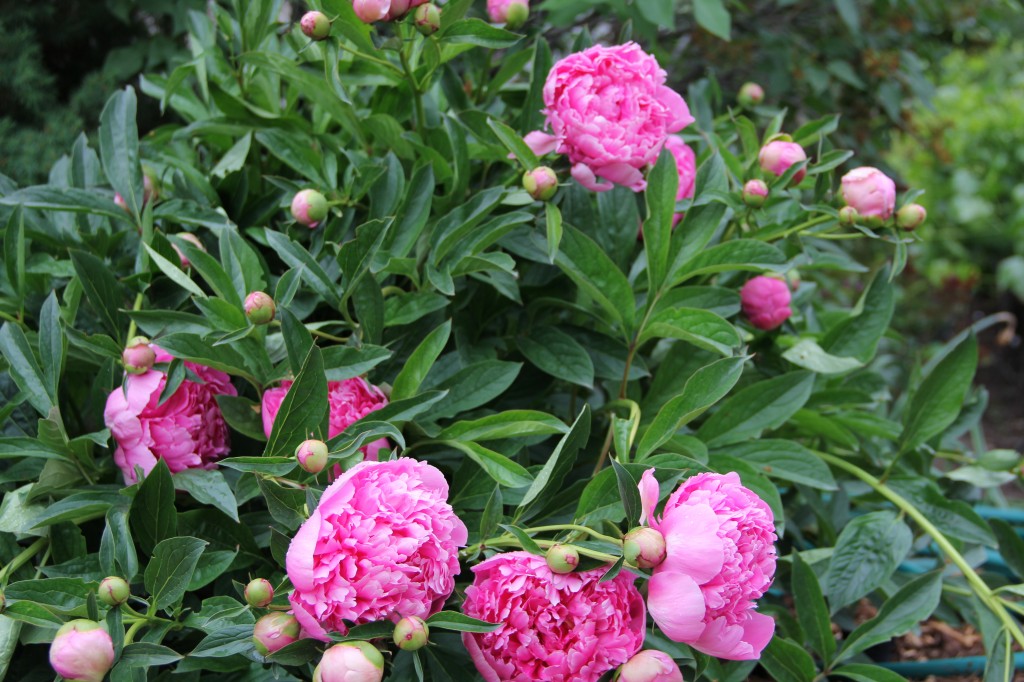
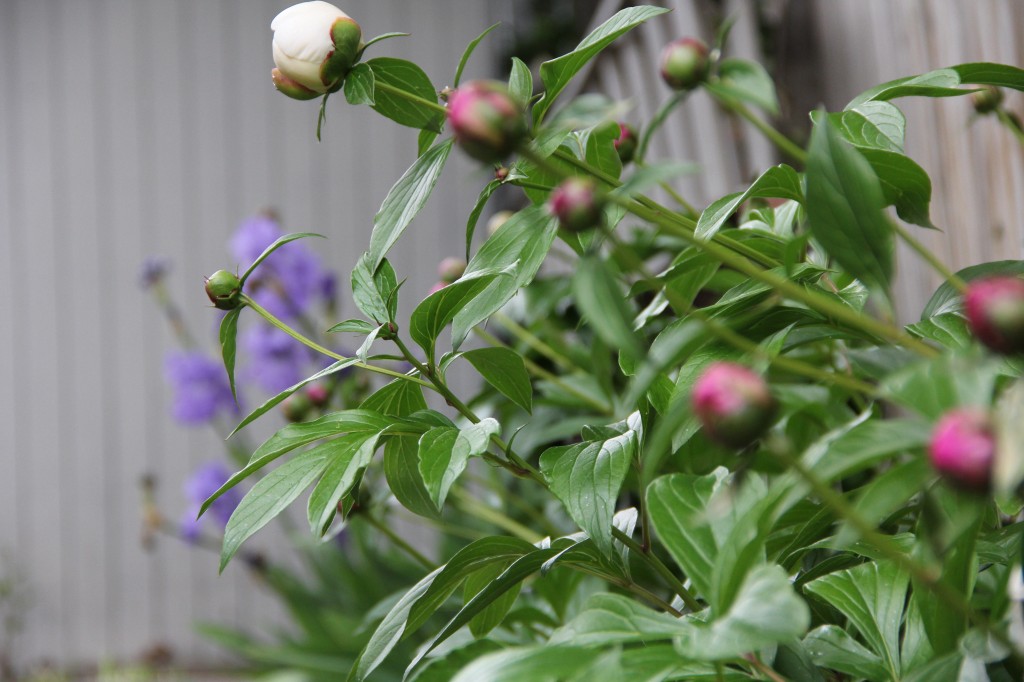
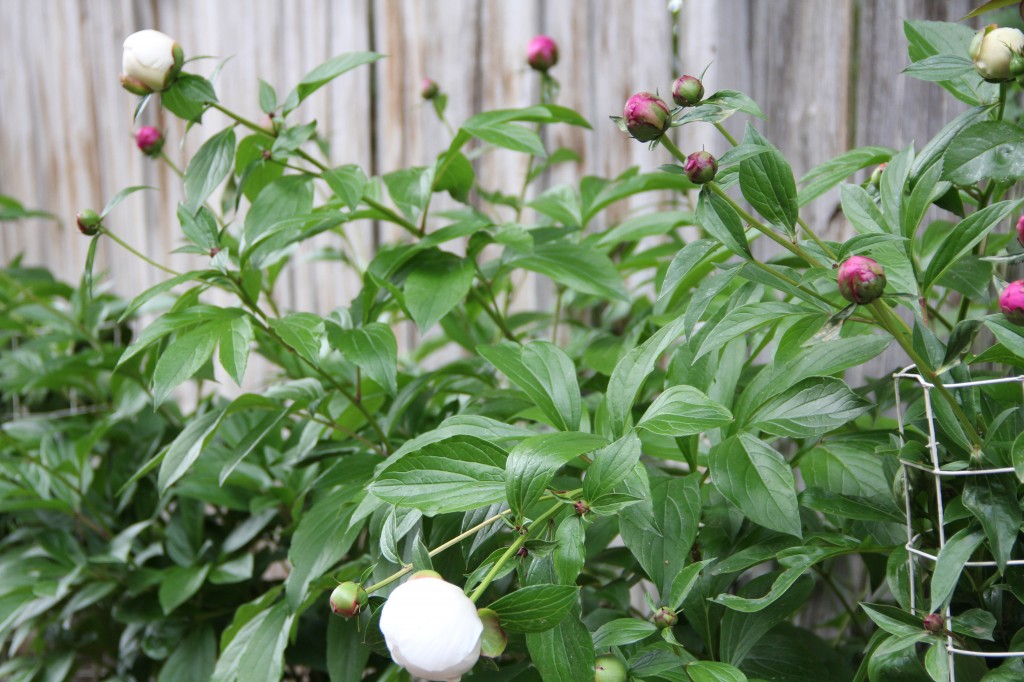
    I’m enjoying my Grandma Wallace‘s peonies,

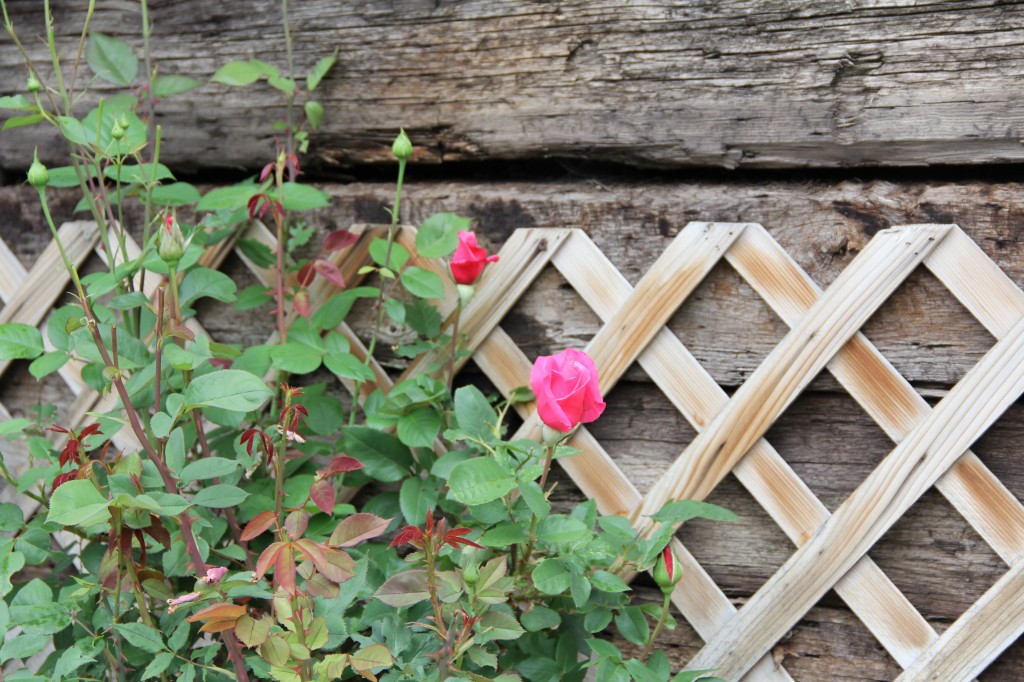
    my mothers roses,

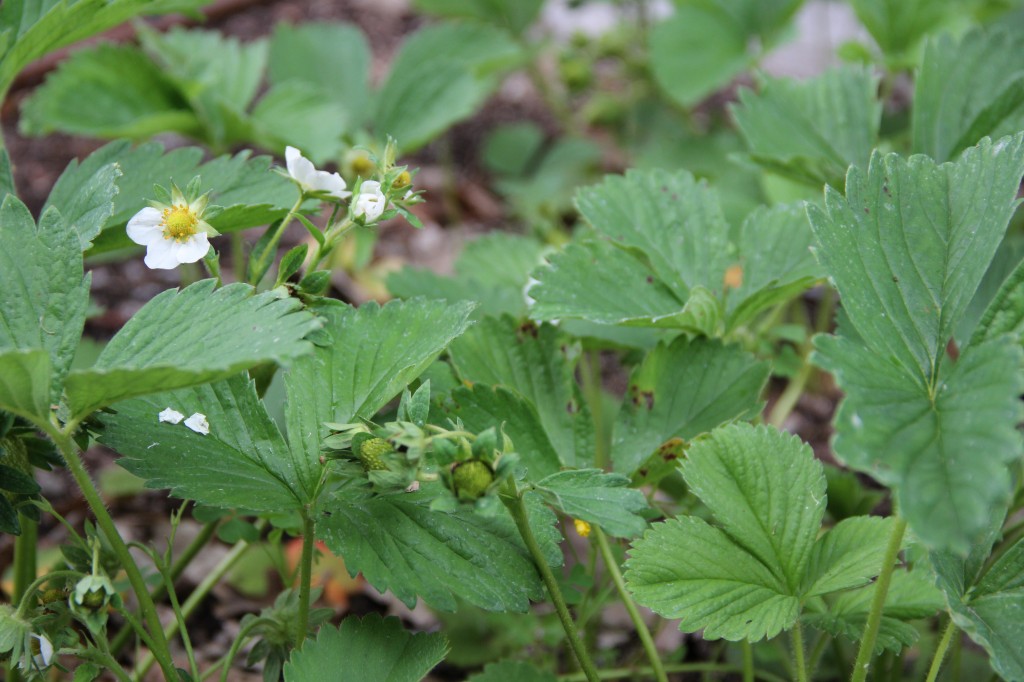
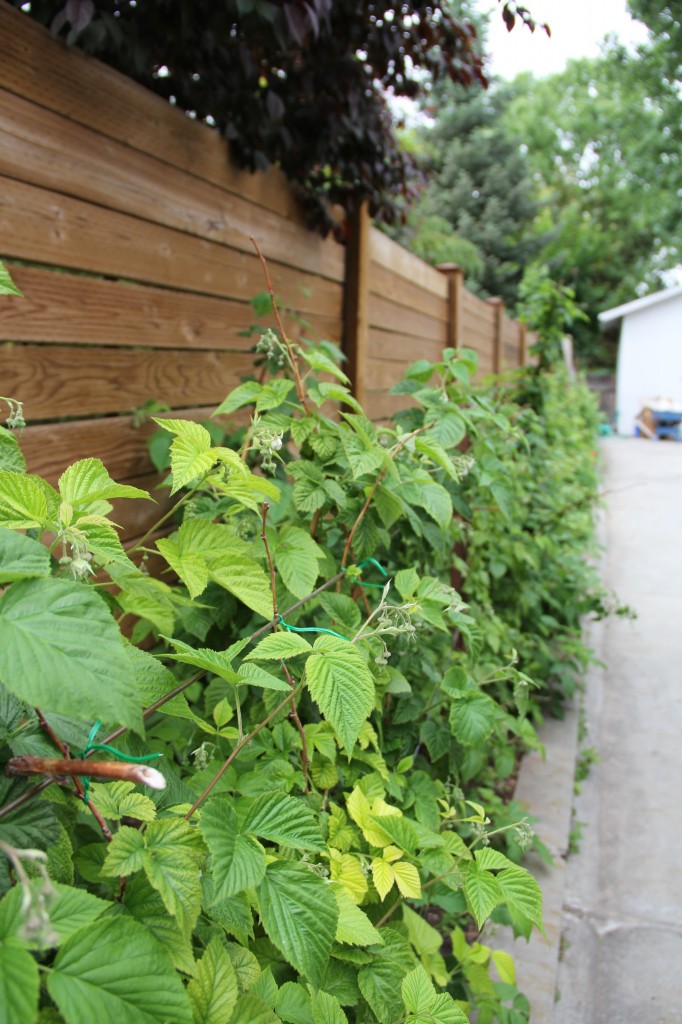
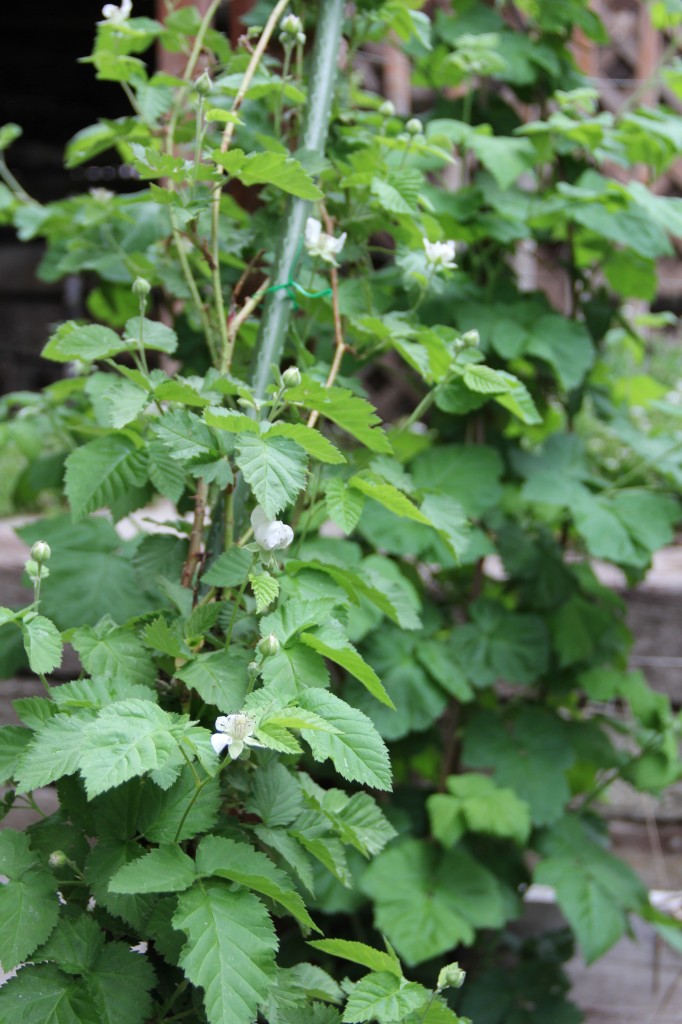
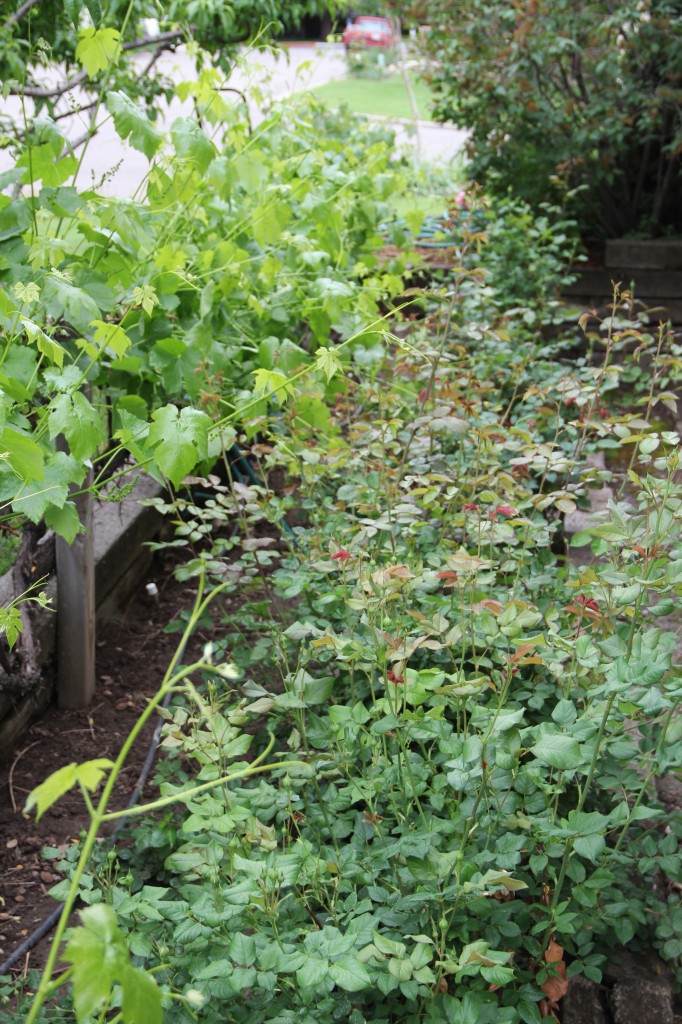
    the promise of my fathers berries,

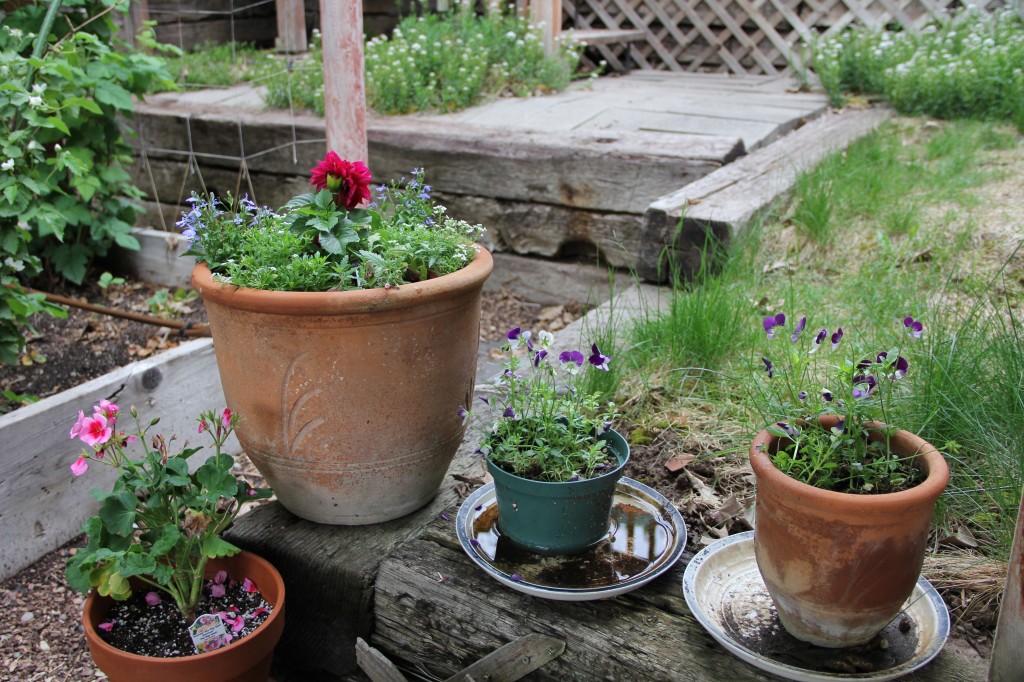
    my Mother’s Day plants in my Grandma Mangum‘s pots,

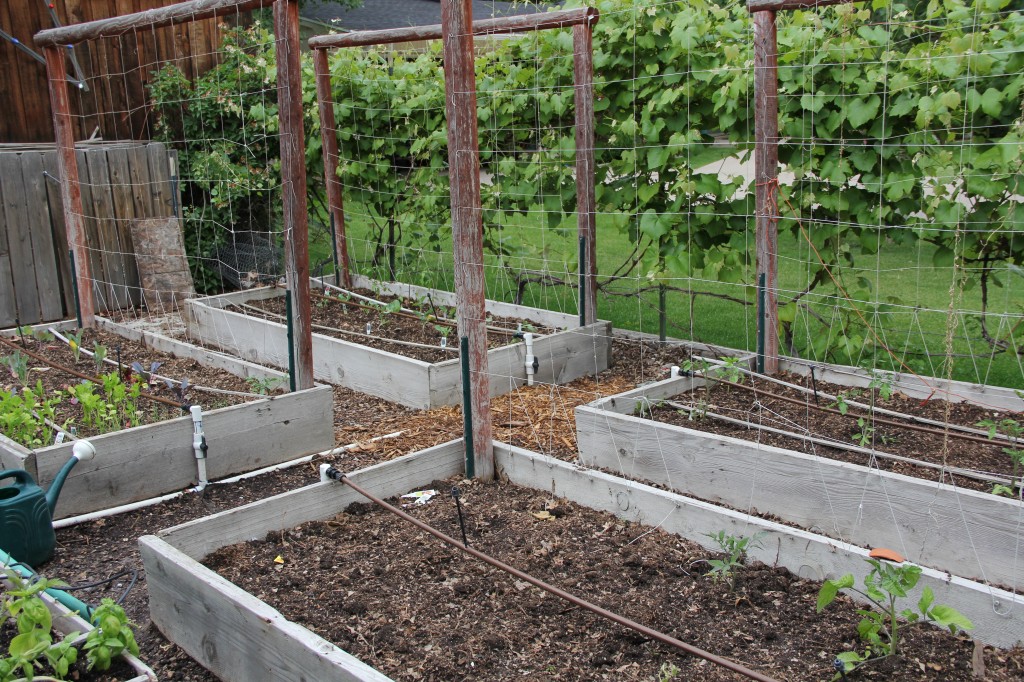
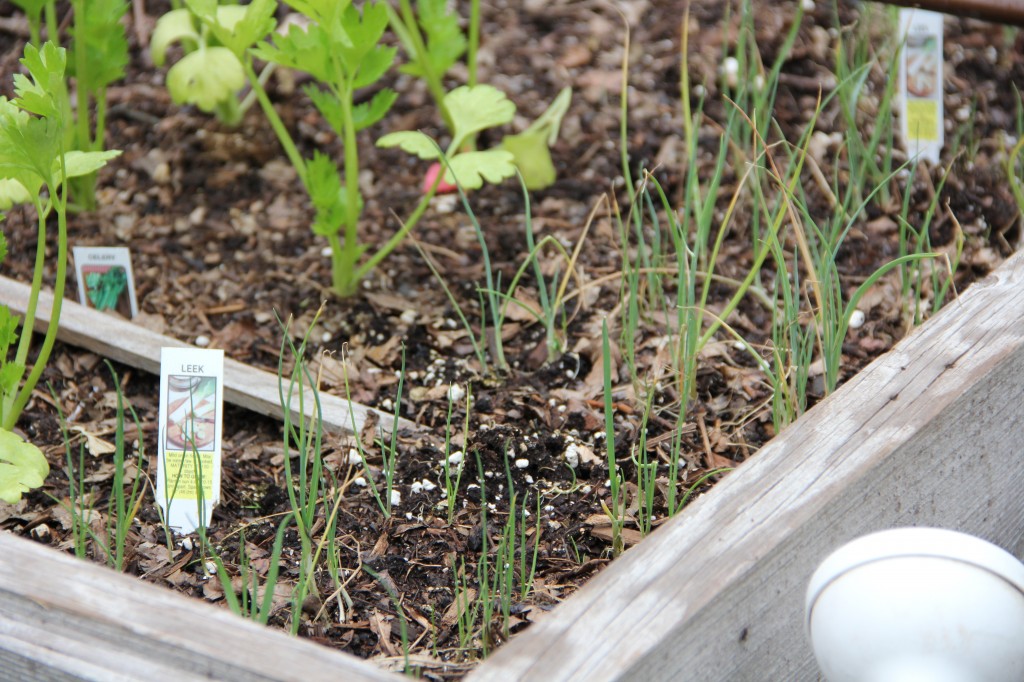
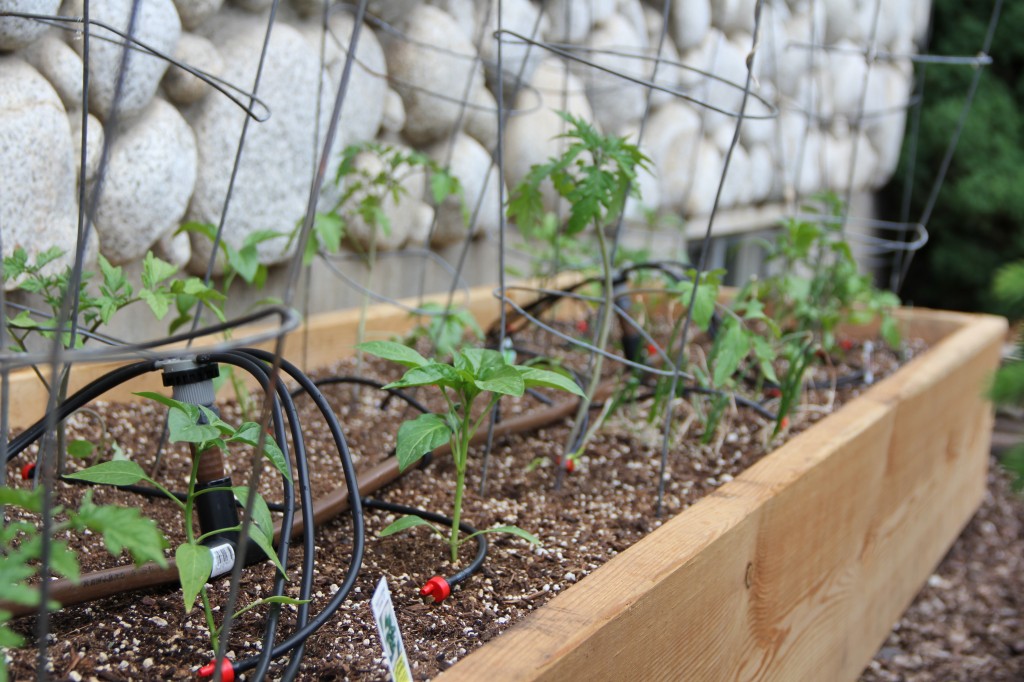
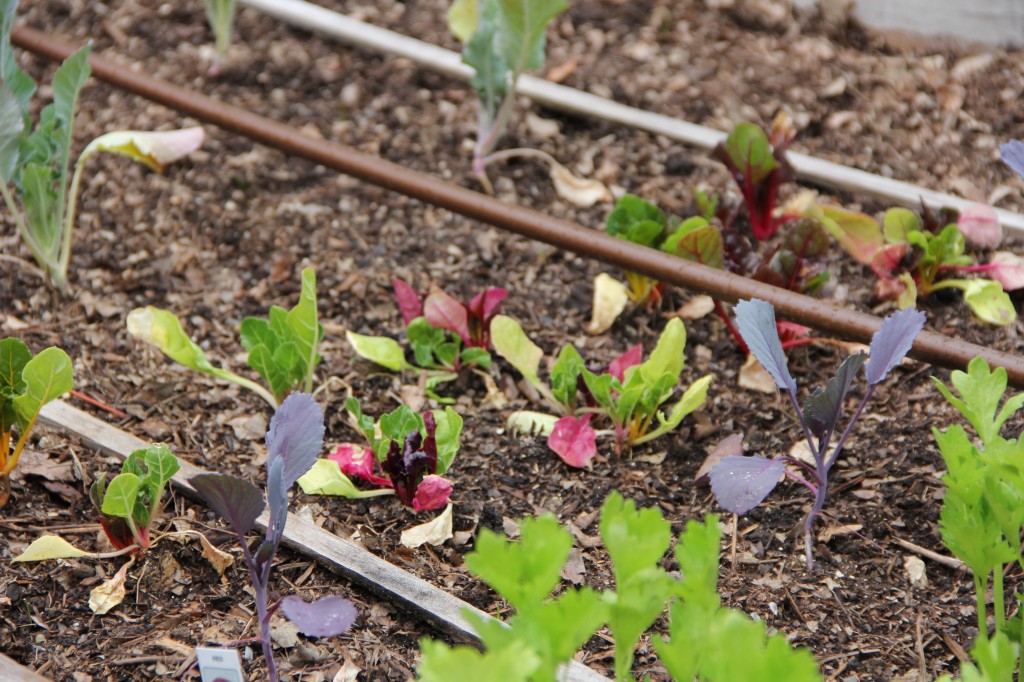
    and the Mr’s insistence of planting a garden.